Creating a Prelaunch Email List With SendGrid and Phoenix
So you've decided to build an app with Elixir and Phoenix and want to create a landing page to capture email address and gauge interest. With SendGrid, it's easy to save emails to a marketing list that you can utilize later for when you're ready to launch.
Create a SendGrid Account
SendGrid is an email platform that enables you to send both marketing and transactional emails from a single place. Head over to SendGrid and sign up for a free account. You'll be able to send 12,000 emails per month for free, which is a really good deal.
Create a SendGrid API Key
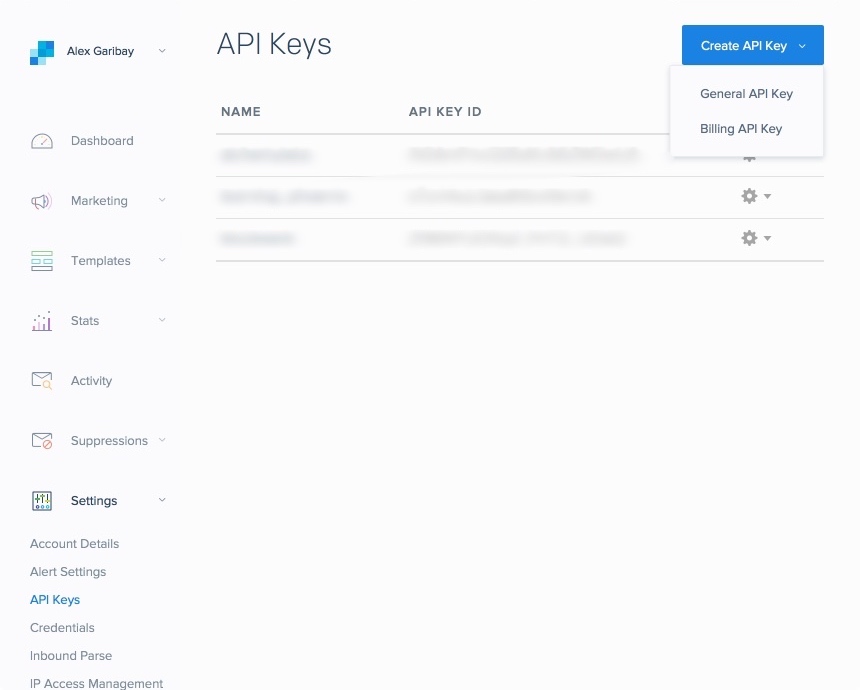
After you've created an account and have logged in,
navigate to Settings -> API Keys and click Create API Key and select General API Key.
Give your API key a name for your own reference. Make sure to enable Full Access to Marketing Campaigns. If you will choose to also send transactional email with SendGrid, make sure to enable Full Access for Mail Send.
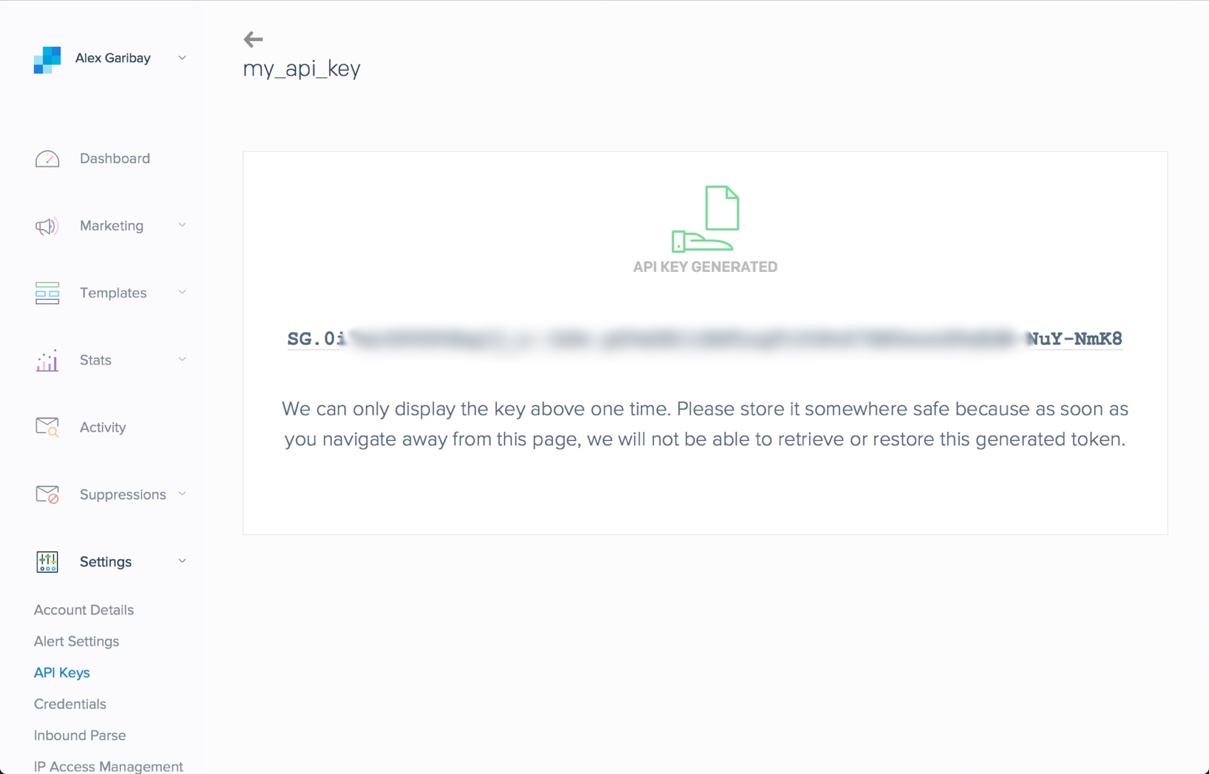
Once you've created your API key, make sure to save it since you won't be able to view it again.
Create Your Prelaunch List
The SendGrid dashboard doesn't make it very easy to create your list that you'll add emails to. Alternatively, we can easily do it with cURL. Replace the following code with your API that you got in the previous section:
curl --request POST \
  --url https://api.sendgrid.com/v3/contactdb/lists \
  --header 'Authorization: Bearer YOUR_API_KEY' \
  --header 'Content-Type: application/json' \
  --data '{"name": "Prelaunch"}'
You'll get a response back like this:
{"id":963825,"name":"Prelaunch","recipient_count":0}
We will need the contact list's id later in our Phoenix application.
Setup SendGrid
Add sendgrid to your project's dependencies.
def deps do
  [
    # ...
    {:sendgrid, "~> 1.3.0"}
  ]
end

# Add to your applications if you're on Elixir < v1.4
def application do
  [
    # ...
    applications: [
      # ...
      :sendgrid
    ]
  ]
end
Now update your config.exs to include settings for :sendgrid.
config :sendgrid,
  api_key: "YOUR_API_KEY_GOES_HERE"
The Controller and Form
Add a new function in a controller to handle the form that captures the email address.
defmodule AwesomeApp.PageController do
  use AwesomeApp.Web, :controller

  def add_to_prelaunch(conn, _params) do
    # We'll fill this in soon
    render conn, "index.html"
  end
Update your router to include your controller function.
scope "/", AwesomeApp do
  # ...
  post "/prelaunch", PageController, :add_to_prelaunch
end
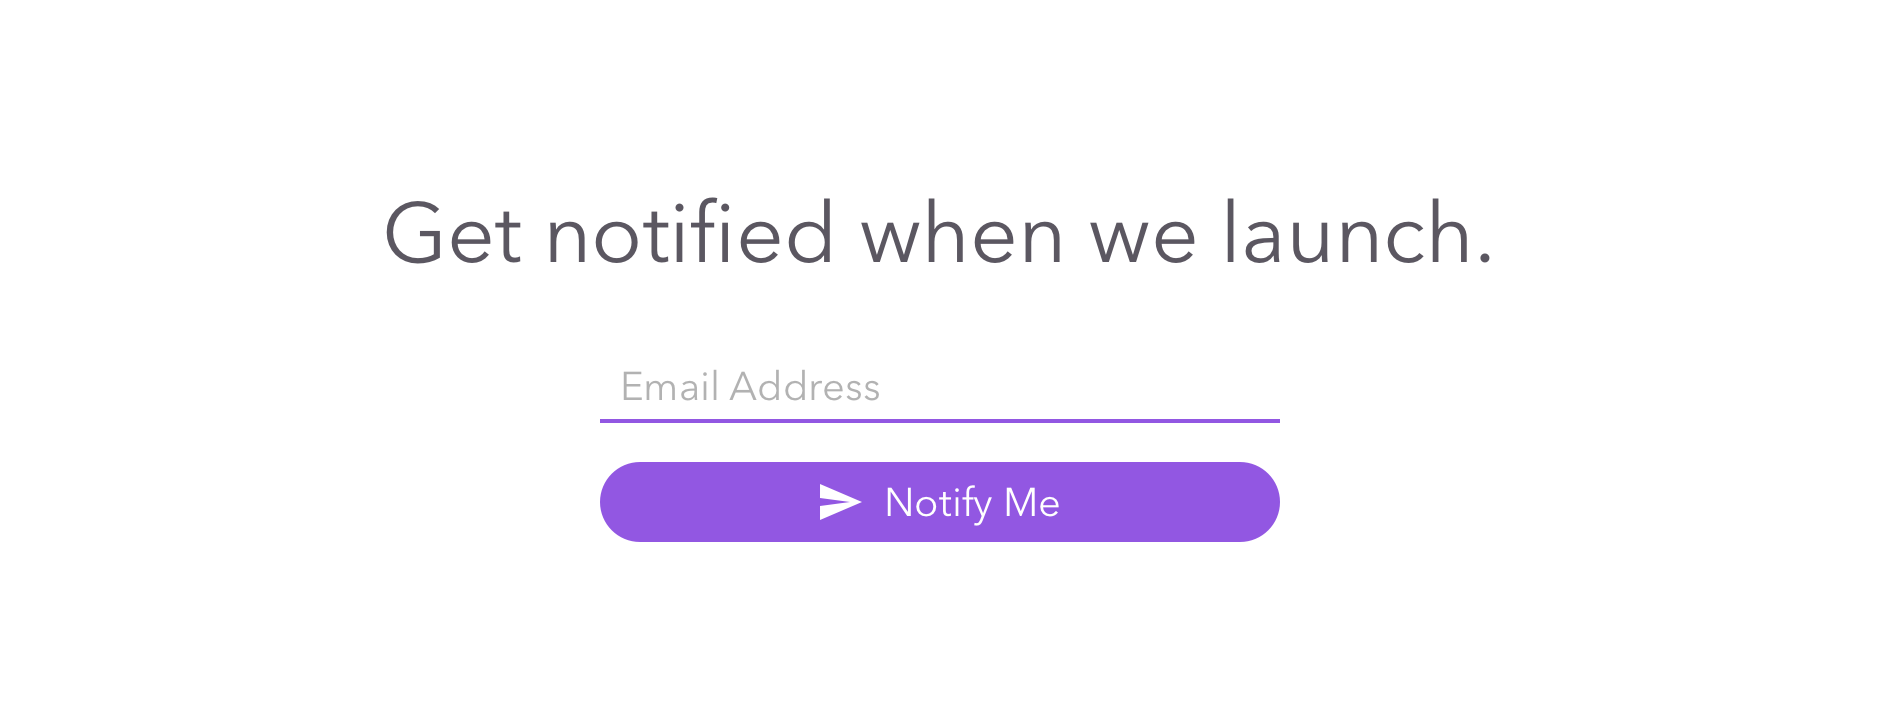
Update your landing page (or wherever you want to capture the email address) to include a form to submit an email address.
<%= form_for @conn, page_path(@conn, :add_to_prelaunch), [as: "prelaunch"], fn f -> %>
  <%= email_input f, :email %>
  <button type="submit">Notify Me</button>
<% end %>
Now let's edit our controller again to properly handle the email address.
def add_to_prelaunch(conn, %{"prelaunch" => %{"email" => email}) do
  # Validate the email address with a regex

  # Add the email address to SendGrid
  {:ok, recipient_id} = SendGrid.Contacts.Recipients.add(email)

  # Add the recipient id to your prelaunch list created earlier
  SendGrid.Contacts.Lists.add_recipient(963825, recipient_id)

  put_flash(conn, :success, "We'll keep you posted!")
  |> render "index.html"
end
Update your UI to give the user some visual feedback after submitting the form. Now you're all set to capture emails for your prelaunch!
Wrap Up
Once you've got your email list, you can use SendGrid's platform to send out your newsletters and updates to everyone on your list to keep them up to date. Their platform is powerful for creating your marketing emails.